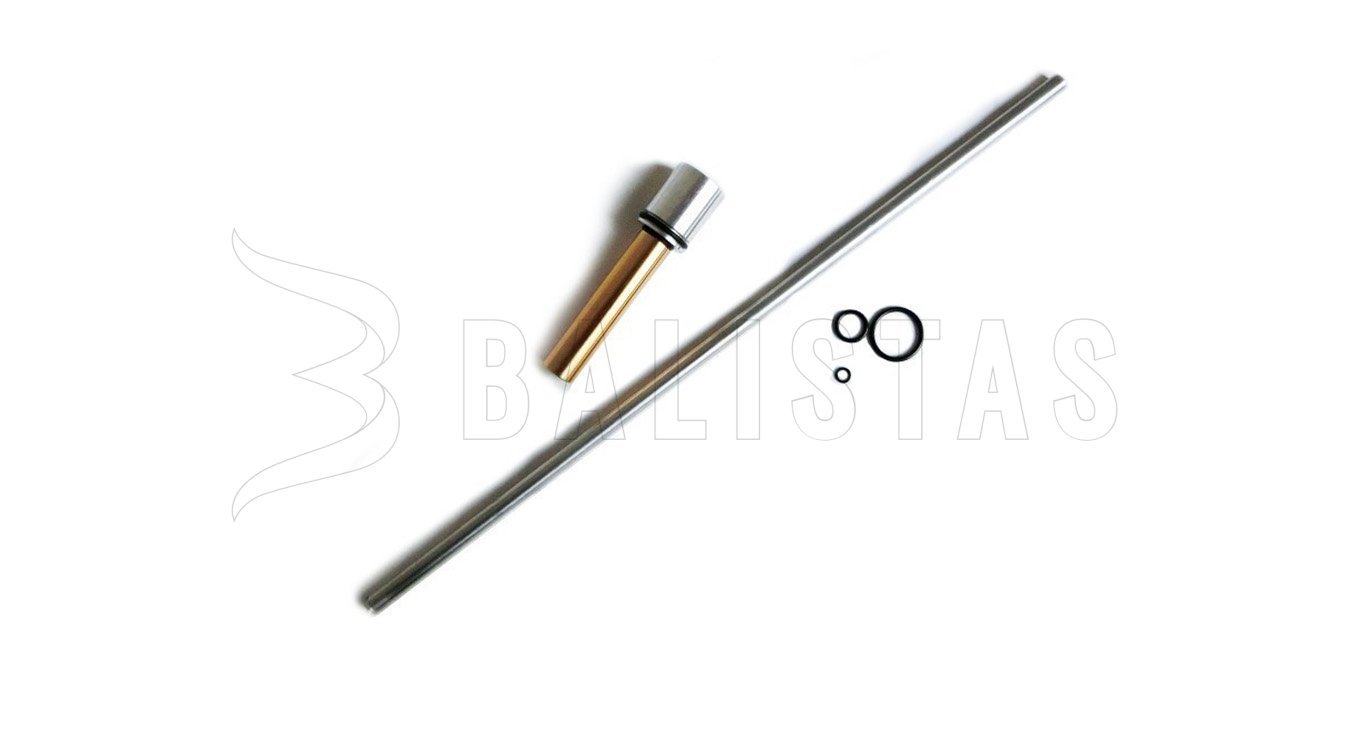
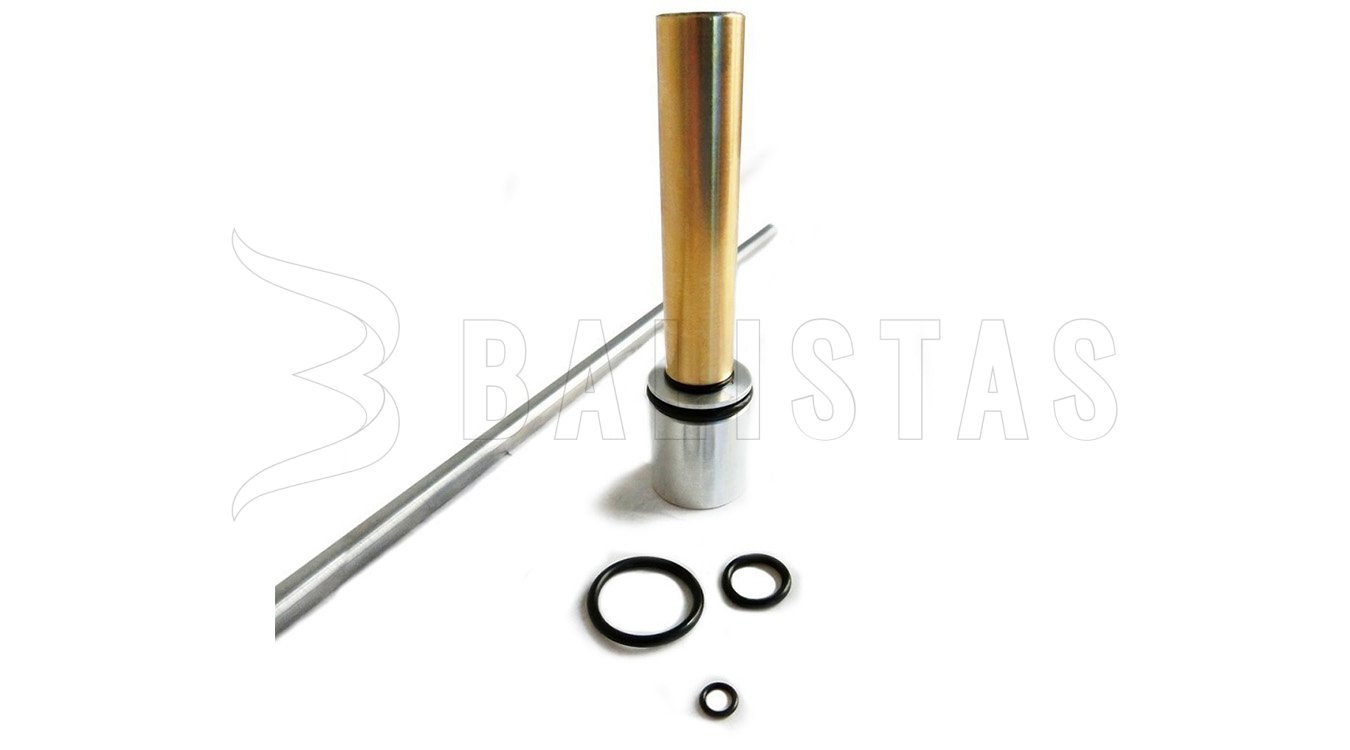
Pressure regulator designed for SPA PR900W PCP air rifles.
Before installation, please read and watch the installation video directly from the manufacturer. No drilling into the air cylinder. Installation is very simple. Screw the mounting rod onto the regulator, which you then push to the bottom of the cylinder. Once the regulator is at the bottom of the cylinder at the valve, unscrew the mounting rod and screw the end plug back onto the cylinder.
Instructions for installing the pressure regulator into the SPA Artemis PR900W air rifle
It is advisable to watch the video instructions before reading the manual, and only then read the manual to avoid common mistakes during installation.
1) Before unscrewing the plug, you must release all air from the cylinder, for example by dry firing without pellets. Unscrew the connector that joins the cylinder to the barrel and then unscrew the plug itself. You can use the mounting rod as a lever for unscrewing.
2) Screw the mounting rod onto the regulator and check that the O-ring is clean and undamaged. Spray the O-ring with silicone spray to prevent damage during installation. Insert the regulator to the bottom of the cylinder, then unscrew the mounting rod and screw the plug (quick-fill) back in together with the connector.
Regulator pressure adjustment
The Altaros regulator can be set to an output pressure from 100 bar (1450 PSI) to 150 bar (2500 PSI). For quick user adjustment, the regulator is equipped with a scale, according to which the desired output pressure value can be set. The full range of 100–150 bar corresponds to approximately 1/2 turn. Unscrewing or tightening by more than 1 full turn may cause the regulation and the scale to malfunction (i.e. loss of overview of the currently set pressure).
To increase the pressure, turn the screw counterclockwise (unscrew). To decrease the output pressure, turn it clockwise (tighten). The edge of the groove of the inner screw marked in red indicates on the scale the currently set output pressure from the regulator. To change the pressure, simply turn the inner screw in the appropriate direction to the desired value using a flat screwdriver.
3) Package contents
Regulator
Mounting rod
2x spare O-ring
After installing the regulator, the manometer on the gun body will show only the regulated pressure. It will therefore be necessary to fill using a pump or a bottle that has its own manometer.
Warning: It is necessary to maintain maximum cleanliness of the entire pressure system (cylinder and external O-rings). Do not disassemble the regulator without prior approval, which may be granted to you based on email correspondence in which you state the reason why it would be necessary to disassemble the regulator. Failure to follow this procedure may result in damage to the function of the regulator (correct reassembly of the regulator is not simple and it is necessary to follow the correct procedure). For these reasons, if the regulator is disassembled without prior approval or if the exact installation procedure is not followed, the warranty claim cannot be accepted. As these are not original parts from the air rifle manufacturer, installation of the regulator is at your own risk.